
InBody
1. Do you have an LB Web account?
- No, register from "https://usa.lookinbody.com/Registration/DeviceInformationV2" and setup your device by following the steps here "http://lbwebfaq.inbodyusa.com/support/solutions/articles/69000669290-how-to-setup-your-unit"
- Yes, proceed to next step
Please note that the API is a paid service and an active subscription is required.
2. Submit API application form "https://lb.inbodyusa.com/api-application-af/"
3. Once approved, log into API site "https://apiusa.lookinbody.com"
4. After logging in, navigate to 'SETUP' and follow the guided steps:
NEW Developer Portal
Step 1 — Log into InBody
Access the InBody setup portal
Click the Connect InBody Account button in PatientNow to access the InBody developer setup portal, or copy the URL below. Enter your InBody Account ID and Password, then click Sign In.
https://usa.developers.lookinbody.com/setup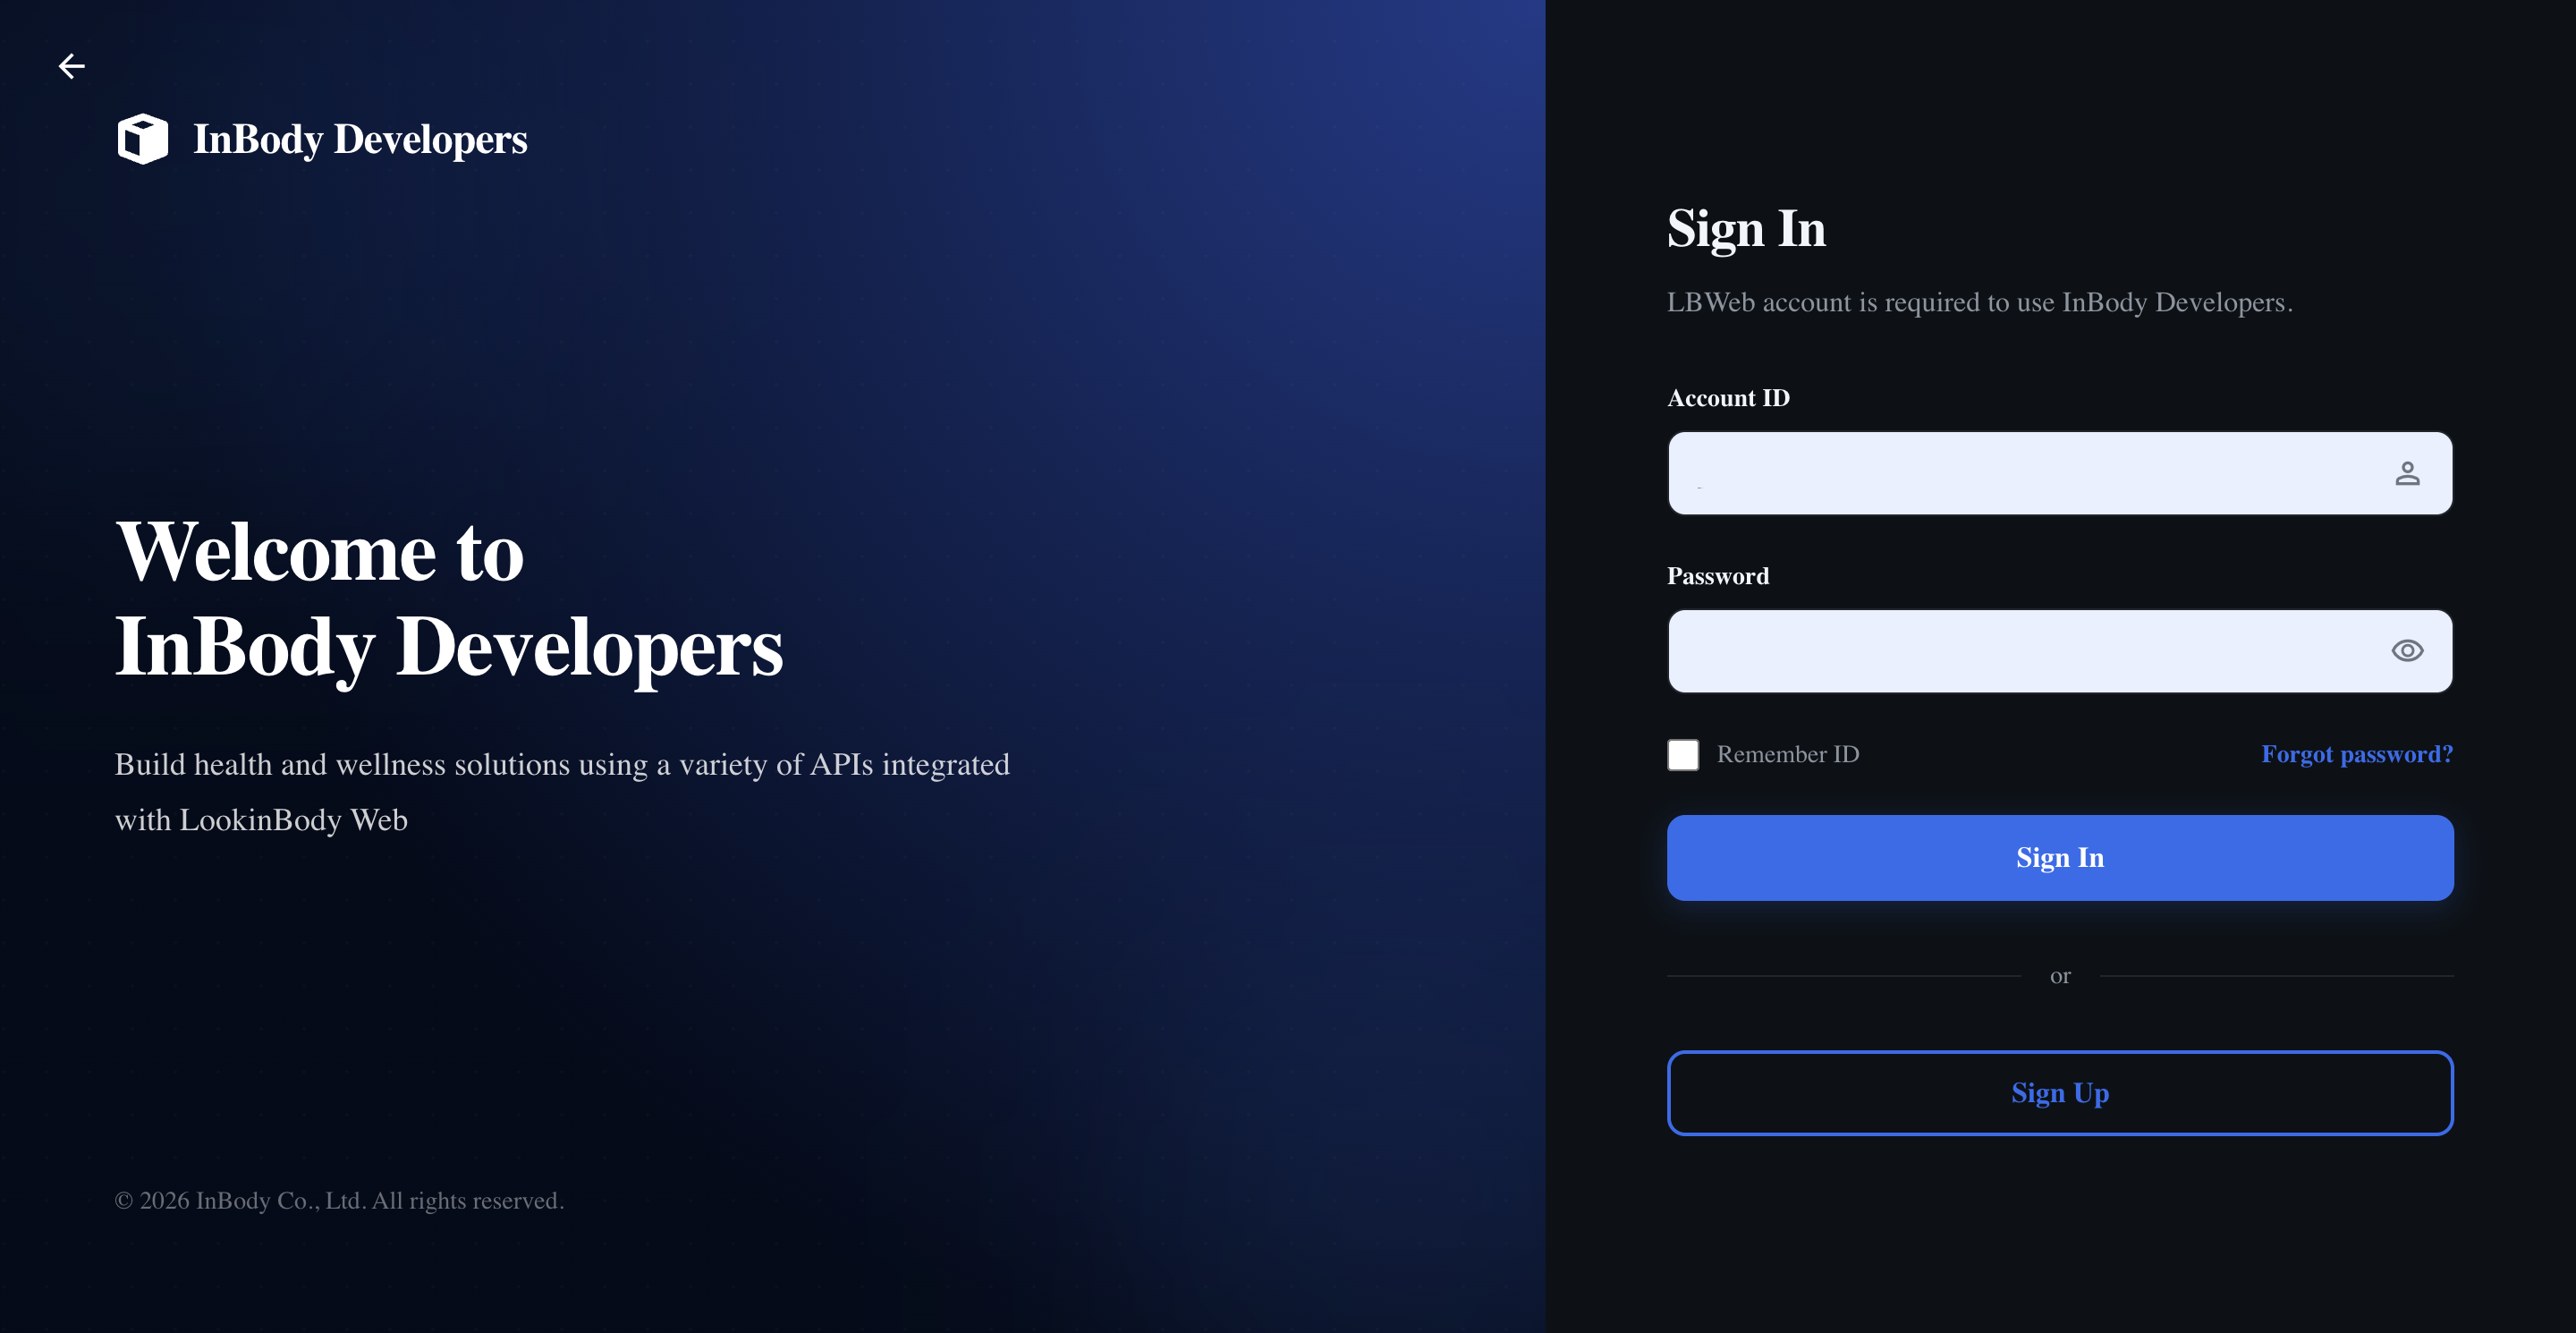
Step 2 — Click Setup
Open the configuration page
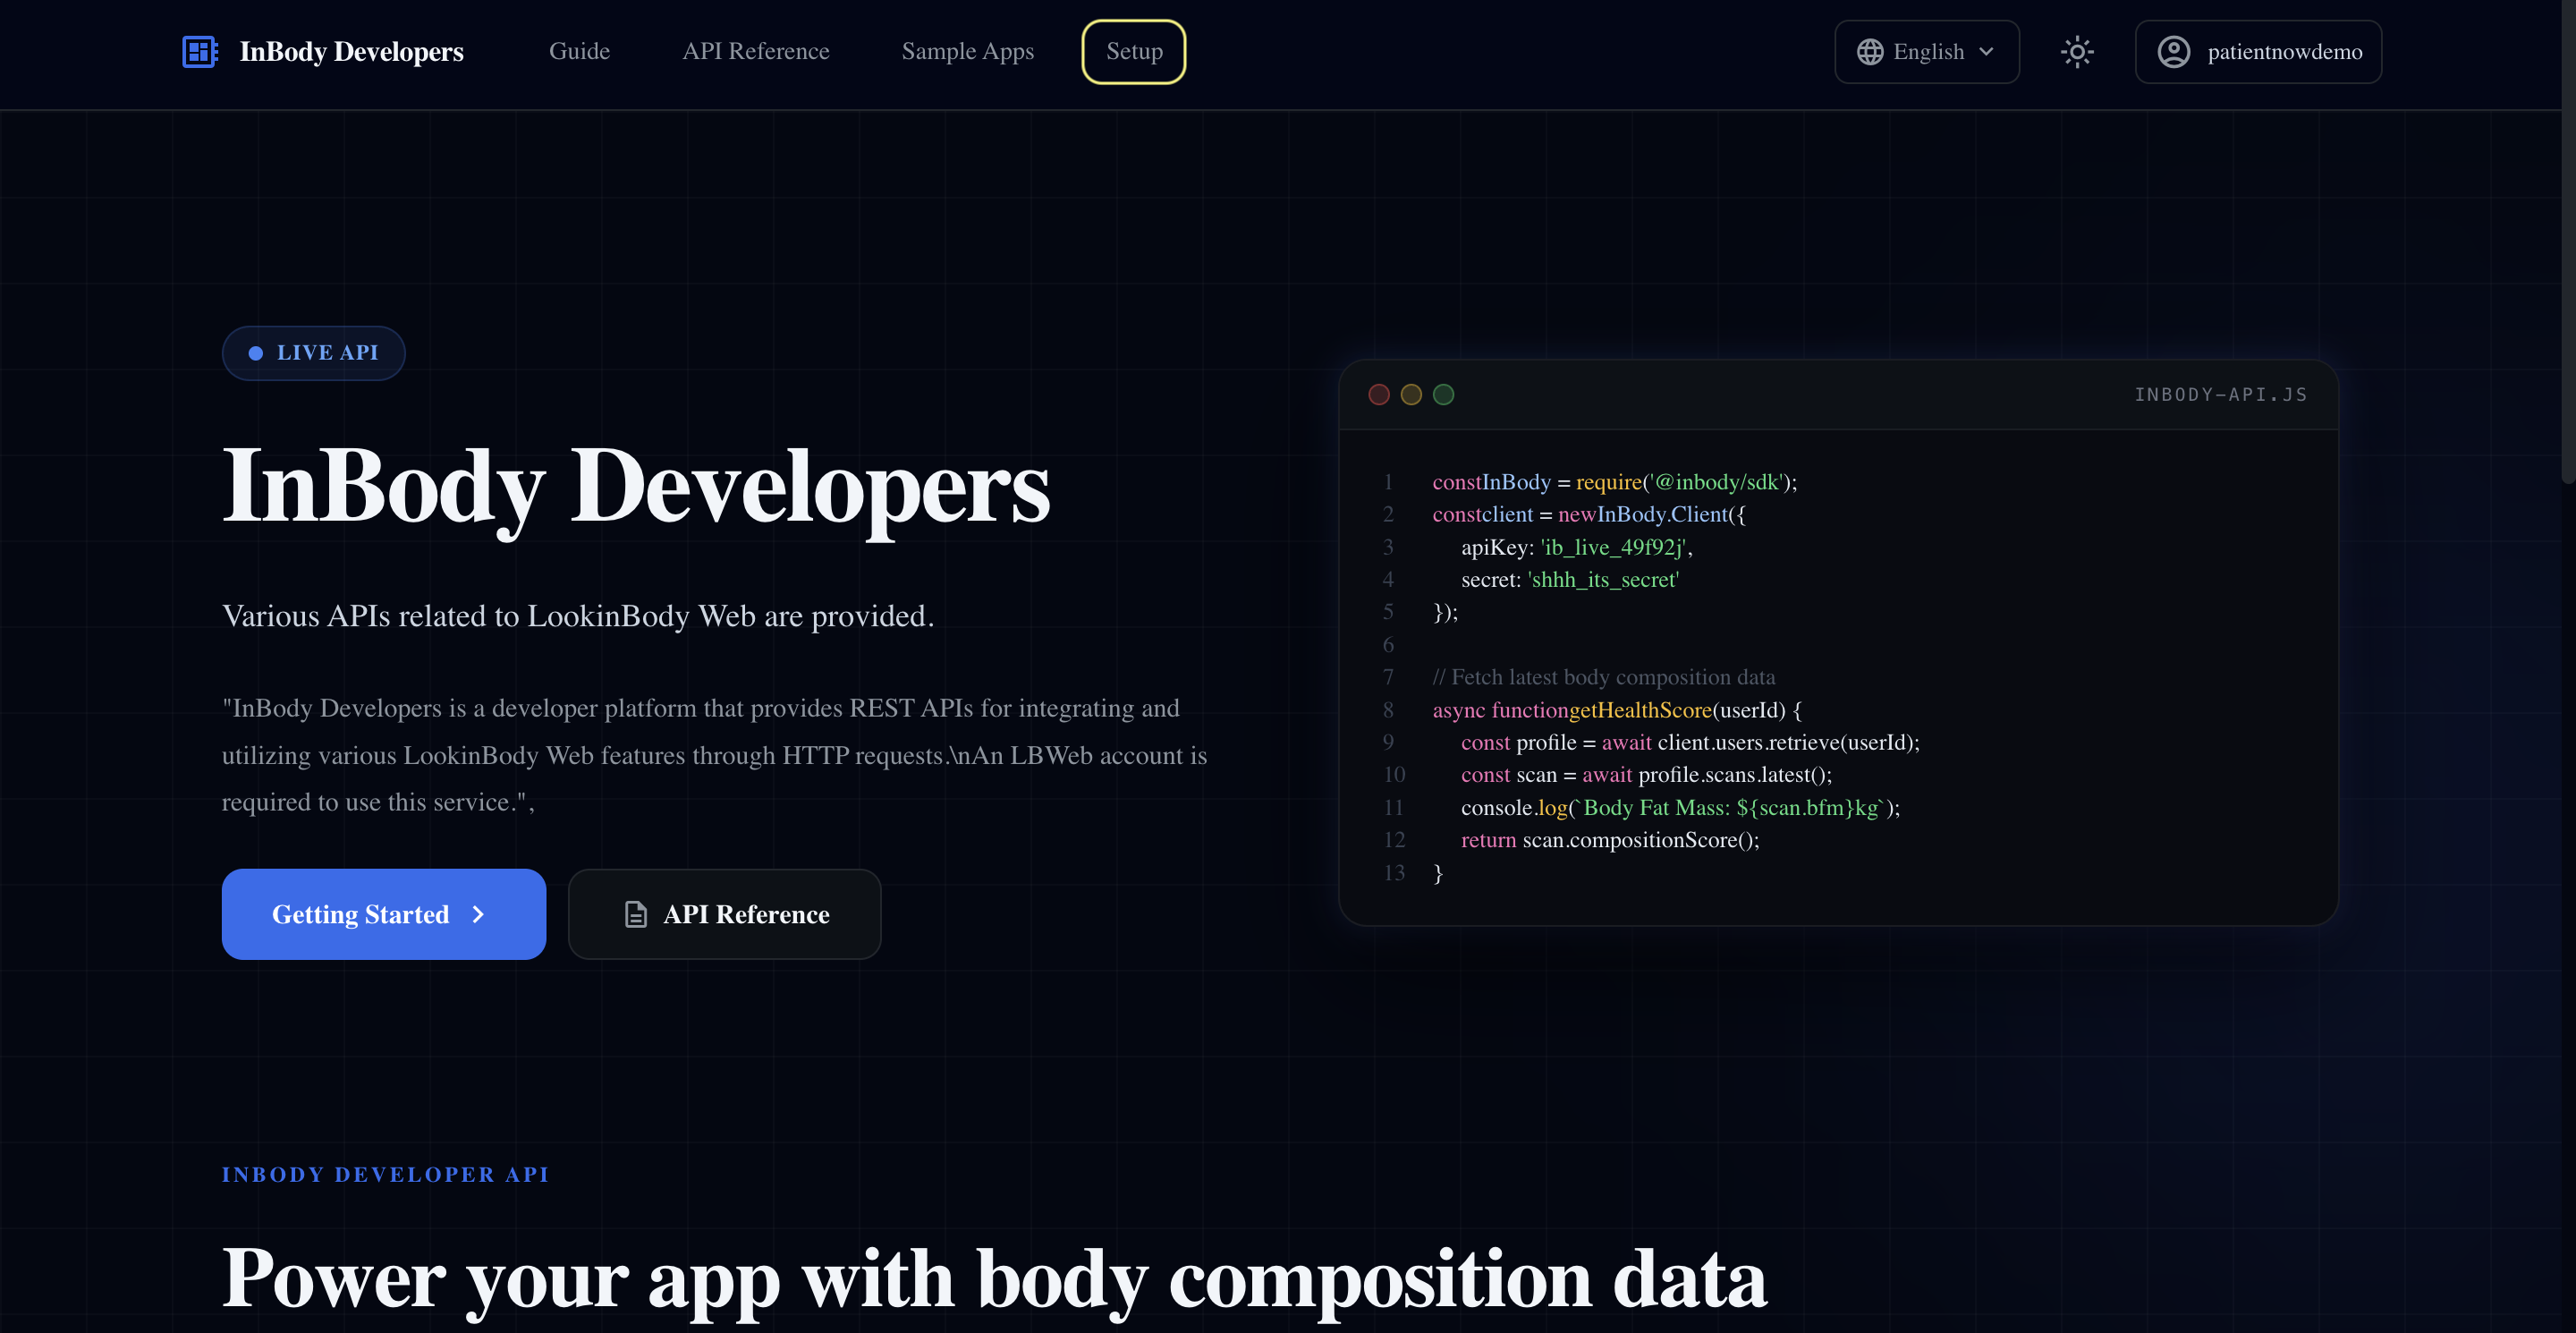
Once logged in, click the Setup button to access the integration configuration page where API keys, IP whitelisting, and webhook settings are managed.
Step 3 — Verify or Generate an API Key
Get your API credentials
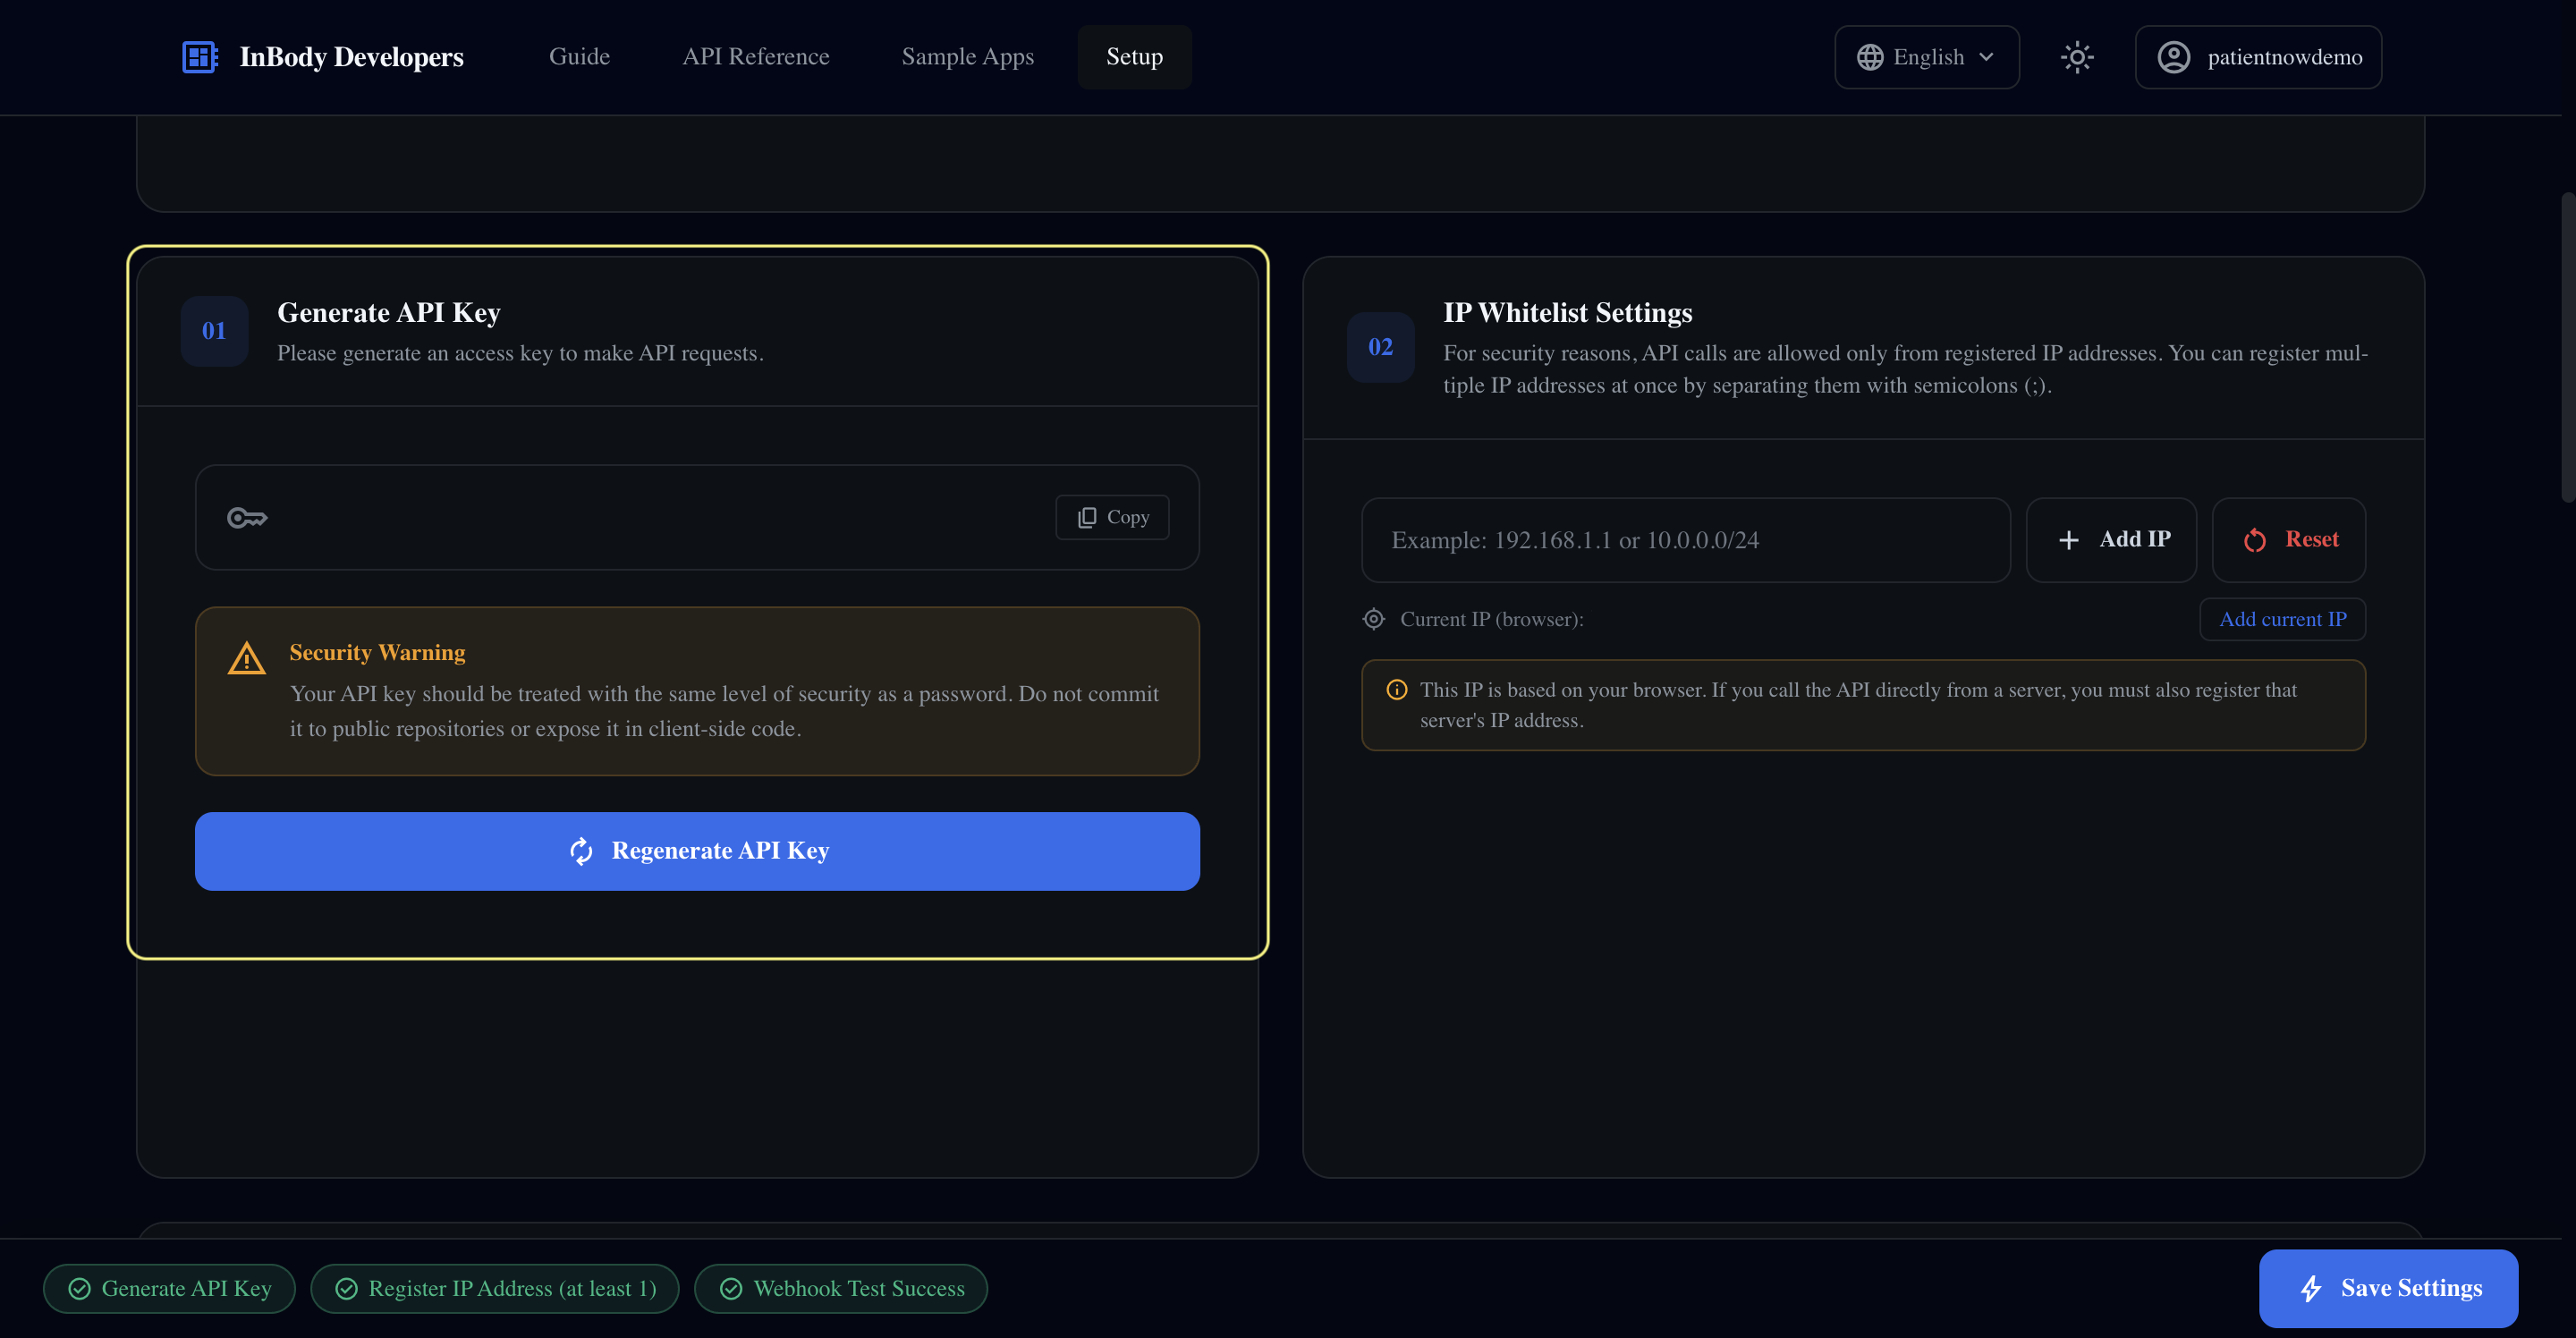
If an API key already exists, copy it. If no API key exists, click Regenerate API Key to create a new one, then copy it. Paste your API Key in PatientNow under the InBody API Key field.
Step 4 — Whitelist IP Addresses
Add PatientNow server IPs to your allowlist
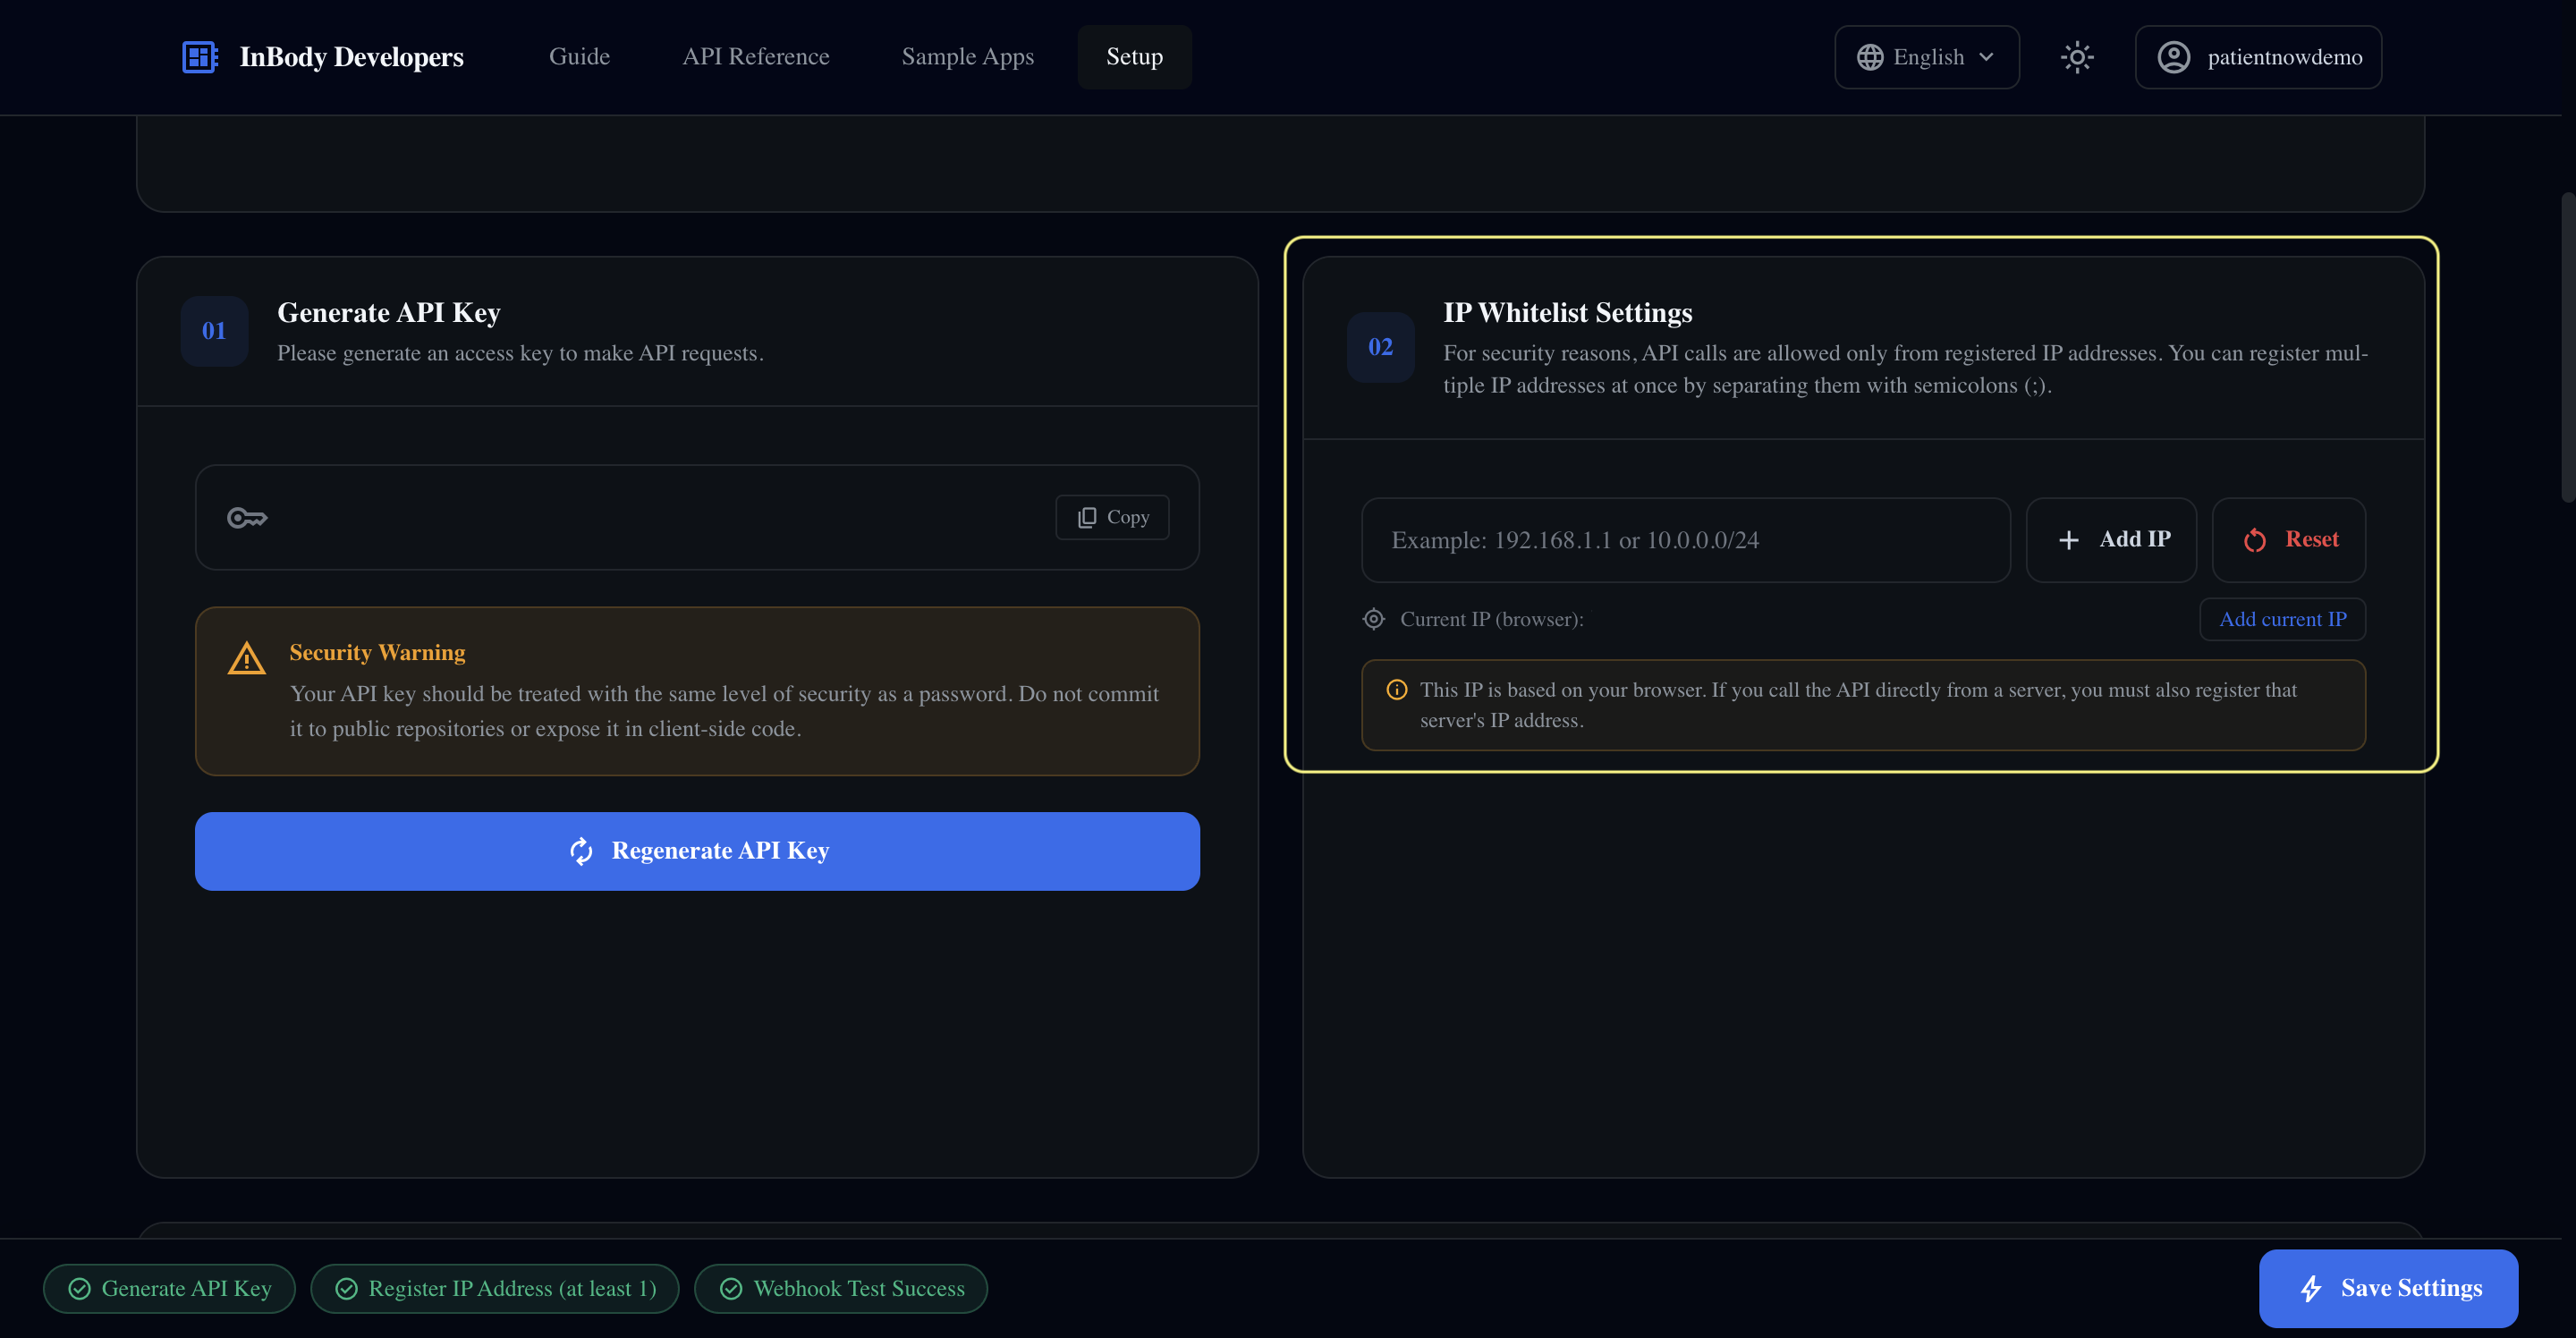
Click Add IP and add both of the following IP addresses:
3.134.186.903.129.147.36
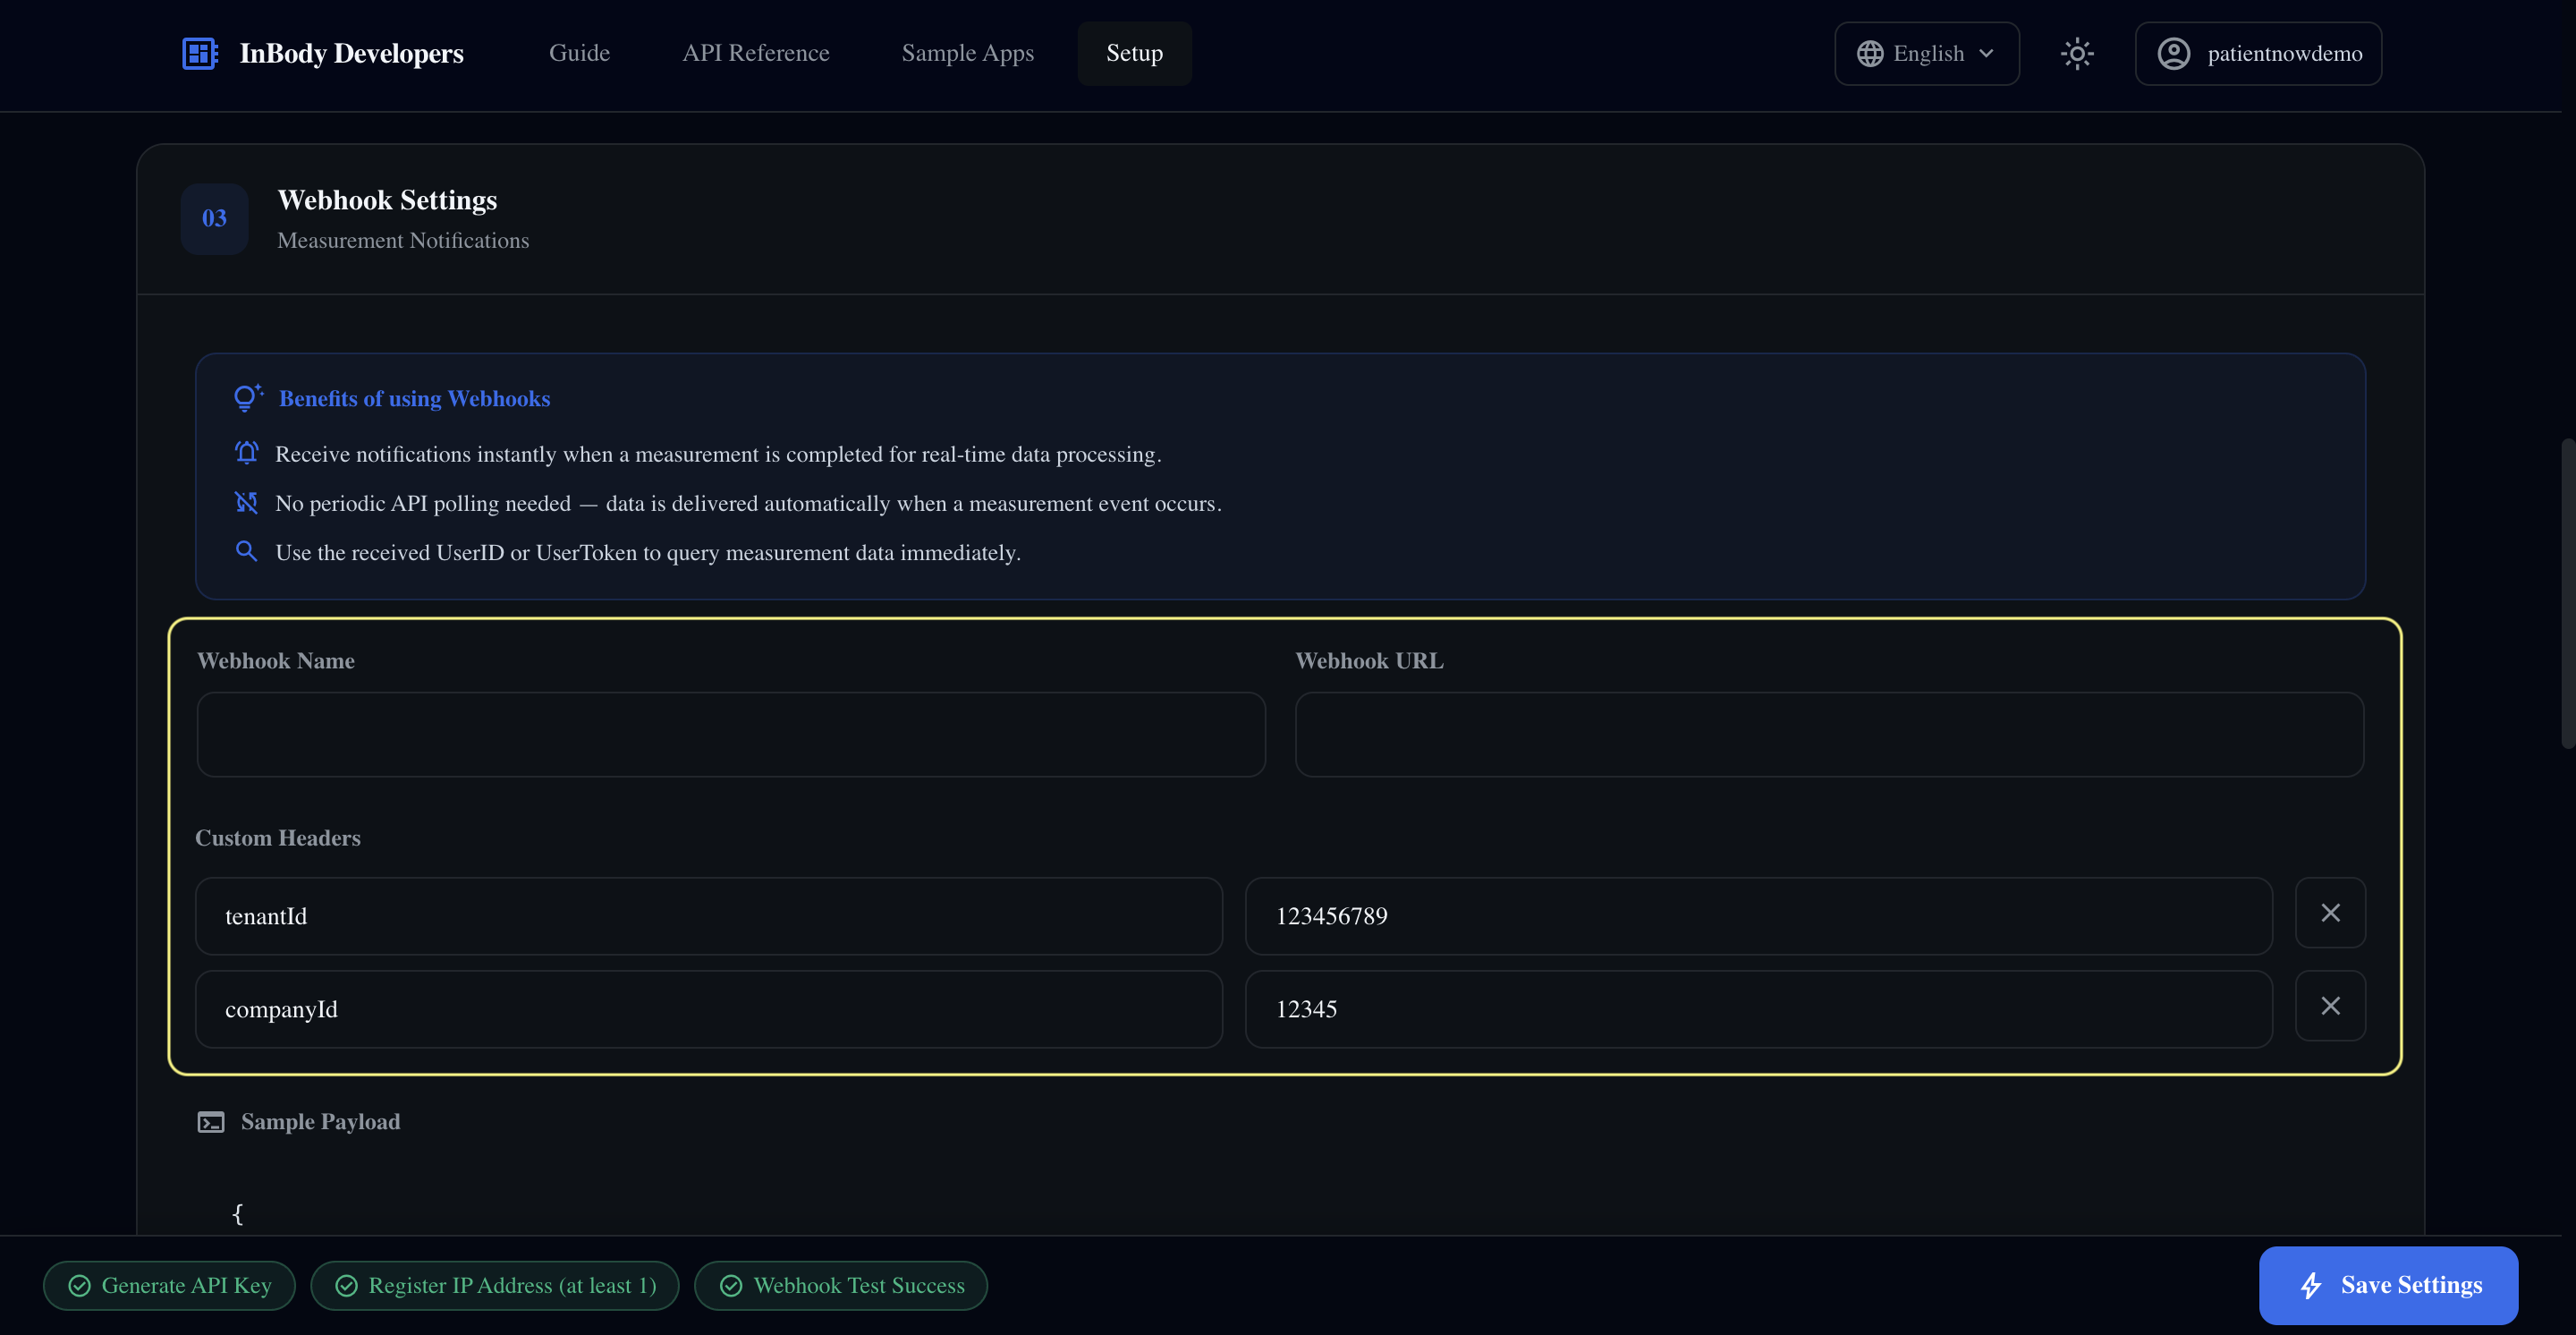
Step 5 — Configure Webhook Settings
Set up the webhook to send data to PatientNow
https://5ss02uz9df.execute-api.us-east-2.amazonaws.com/prod/webhooks/inbody- Name:
tenantId - Value: Your PatientNow Tenant ID
- Name:
companyId - Value: Your PatientNow Location ID
Once all fields are complete, click Save Settings to save your configuration.
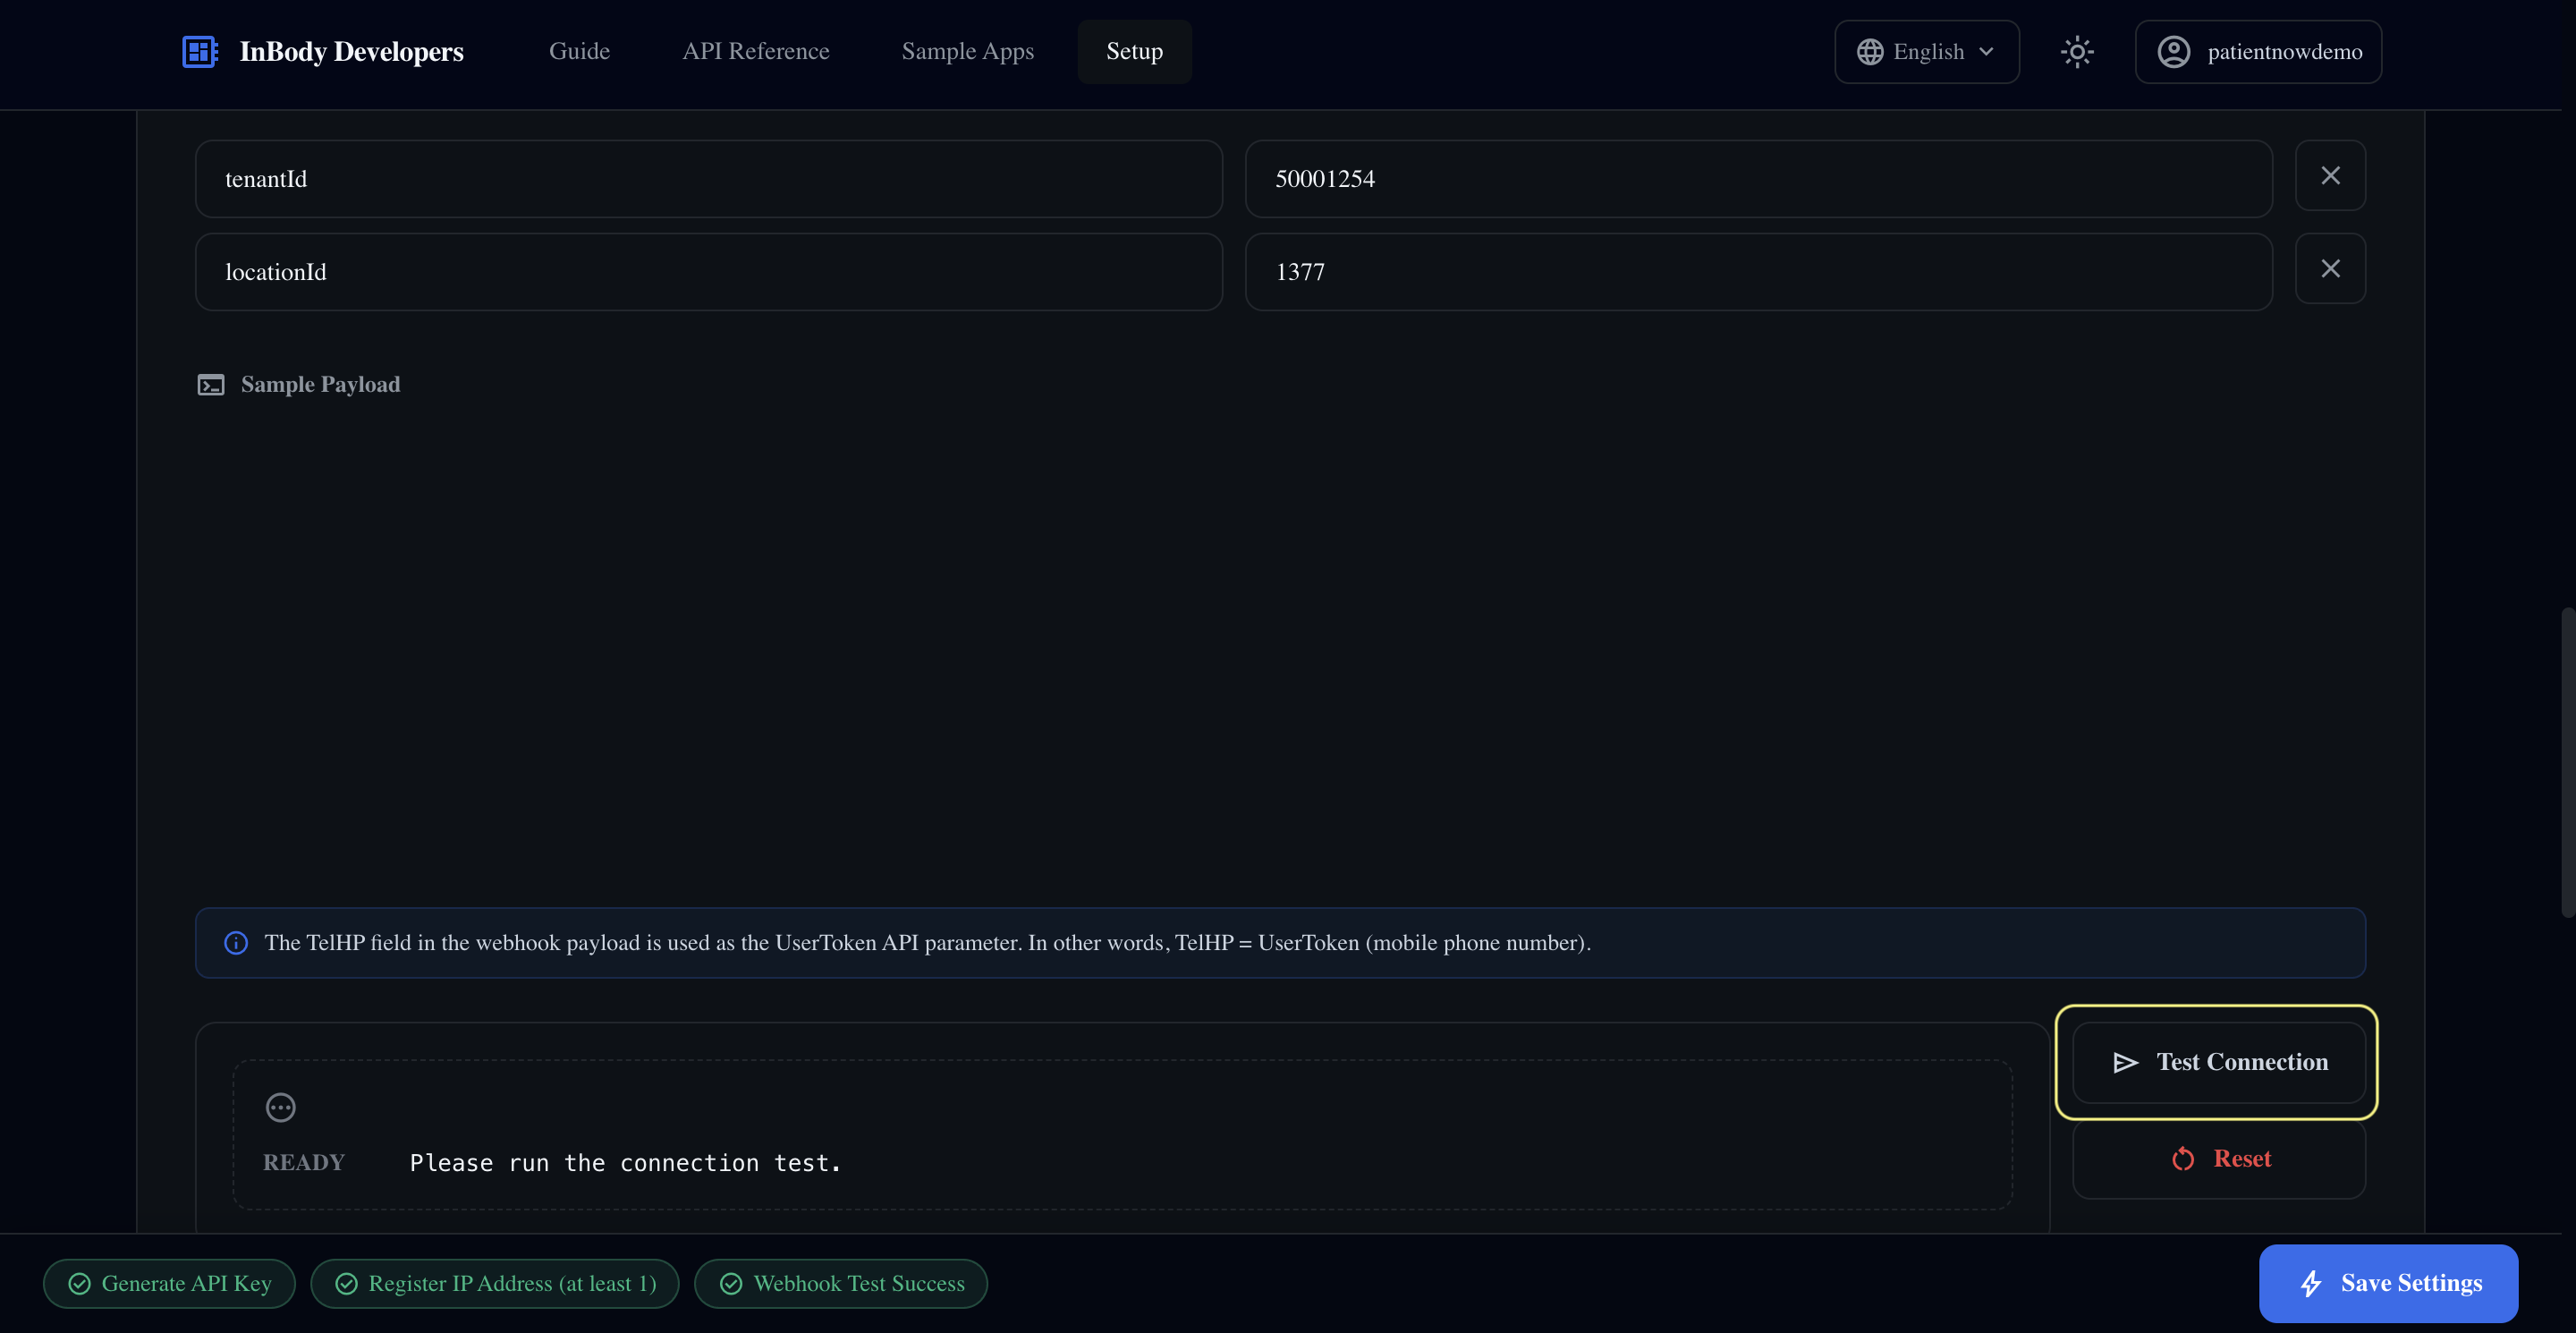
Step 6 — Click Test Connection
Verify the webhook is working
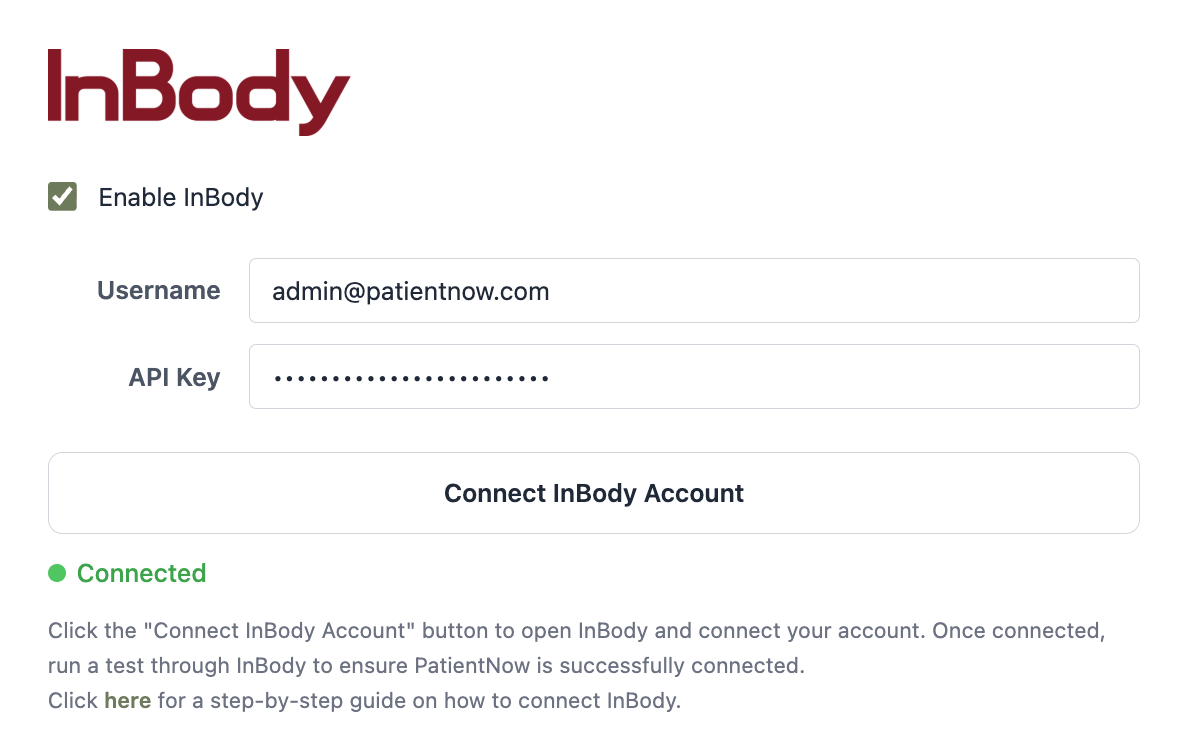
Click the Test Connection button to verify that InBody can successfully reach your PatientNow webhook endpoint. If the connection is successful, PatientNow will show a green Connected indicator below your InBody settings.
From your PatientNow Portal
You're All Set
Integration complete
Your InBody and PatientNow accounts are now connected. Body composition data from InBody scans will automatically be sent to patient records in PatientNow.
OLD Developer Portal
Step 1. Select 'Get a New Key' to Generate your API Key

Step 2. Please contact your Application Developer to obtain their server IP Address

IP Whitelist: 3.134.186.90;3.129.147.36
Step 3. Add in your Webhook details, these can also be obtained from your Application Developer

Webhook URL: https://5ss02uz9df.execute-api.us-east-2.amazonaws.com/prod/webhooks/inbody
Step 4. Select 'Sent Test' in order to confirm correct settings. Save once confirmed

If you run into any problems, please contact Integration@inbody.com for assistance.
Please reach out to your PatientNow representative if you need assistance on their portal.