
InBody
- Do you have an LB Web account?
- No, register from "https://usa.lookinbody.com/Registration/DeviceInformationV2" and setup your device by following the steps here "http://lbwebfaq.inbodyusa.com/support/solutions/articles/69000669290-how-to-setup-your-unit"
- Yes, proceed to next step
- Please note that the API is a paid service and an active subscription is required.
- Once approved, log into API site "https://usa.developers.lookinbody.com/"
- Submit API application form from the Developer Portal
- After logging in, follow the guided steps:
Developer Portal
- Apply for API access
- Sign in to usa.developers.lookinbody.com with your LookinBody Web login. Your account needs API access before you can use the site, so a window titled API Access Permission Required opens. Click Apply, fill in the application, and submit it. InBody emails you once it's approved. If you can't sign in, contact LookinBody Web support at LBsupport@InBody.com.
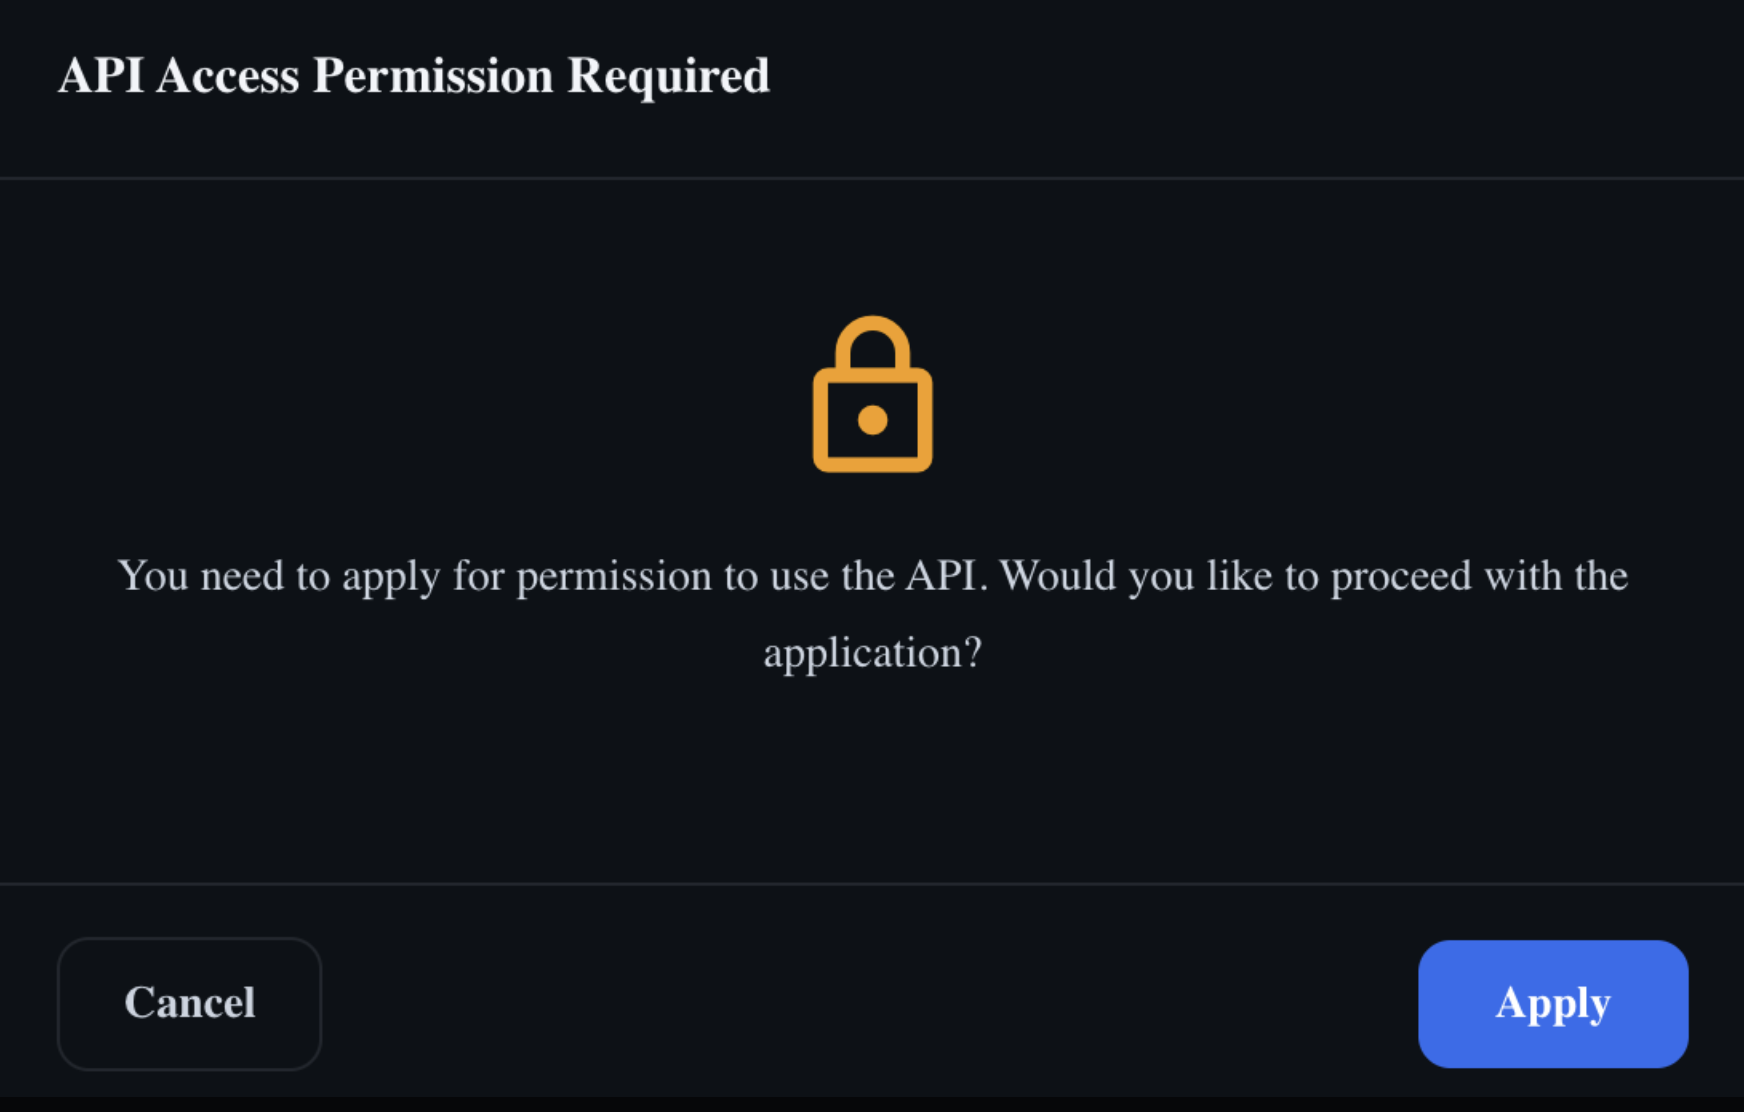 The window you see until your account has API access
- Sign in to usa.developers.lookinbody.com with your LookinBody Web login. Your account needs API access before you can use the site, so a window titled API Access Permission Required opens. Click Apply, fill in the application, and submit it. InBody emails you once it's approved. If you can't sign in, contact LookinBody Web support at LBsupport@InBody.com.
- Generate an API key
- Once InBody approves your API access, sign in again. The API Setup & Manage page opens with Test mode is enabled at the top. Set up the account on this page while it's still in test mode.
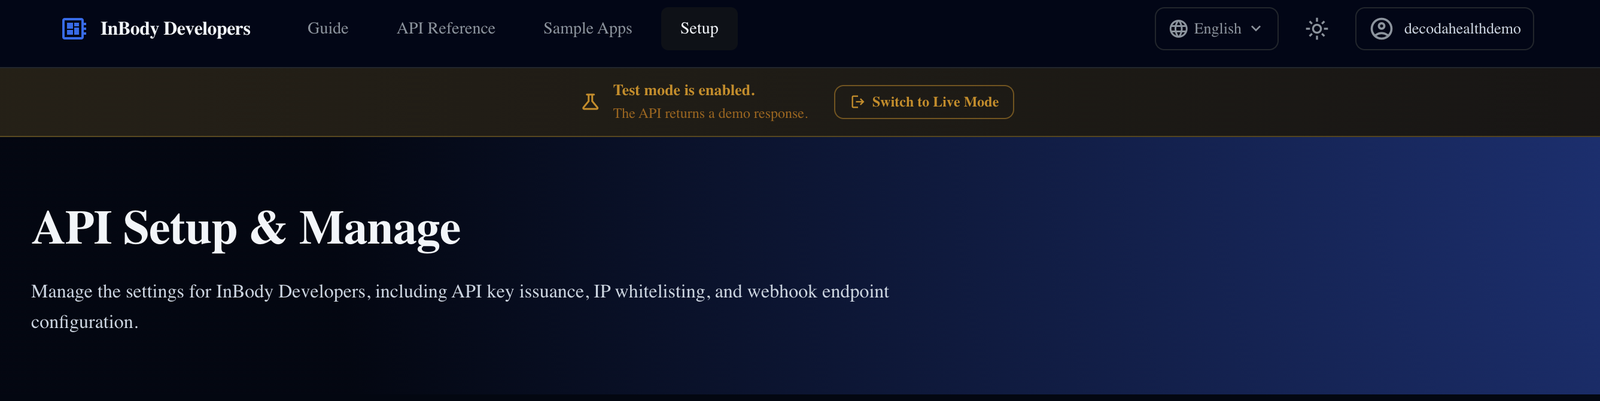 InBody Developer Portal in test mode
- Under Generate API Key, click Generate API Key. Treat the key like a password. If you click Regenerate API Key later, the old key stops working, so enter the new one in Decoda as described under Connect More Than One Account.
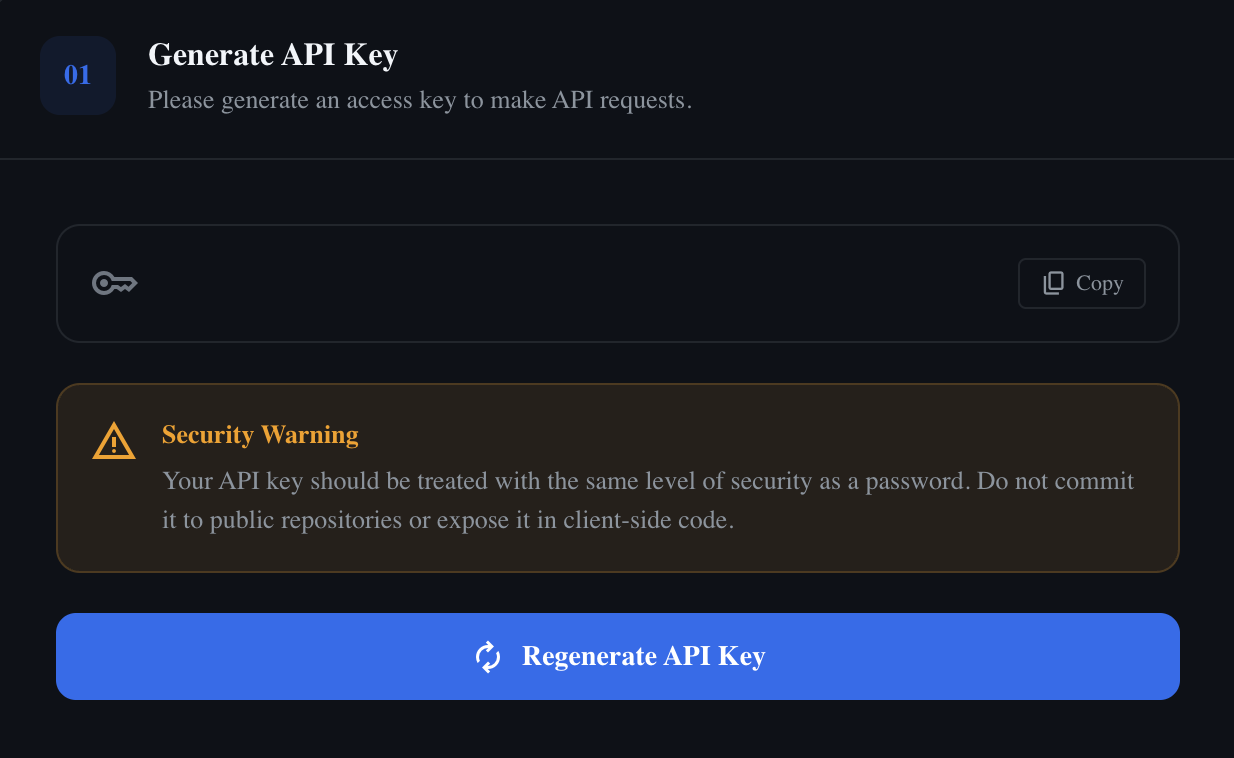 Generate API Key on the InBody Developers site
- Once InBody approves your API access, sign in again. The API Setup & Manage page opens with Test mode is enabled at the top. Set up the account on this page while it's still in test mode.
- Enter Webhook URL from Decoda Portal
- In Decoda, go to Settings > Clinical > InBody. On the Connection tab, click Add account, then copy the Webhook URL shown under the form.
Don't click Connect yet. You'll connect once InBody approves you to go live, using your live API key.
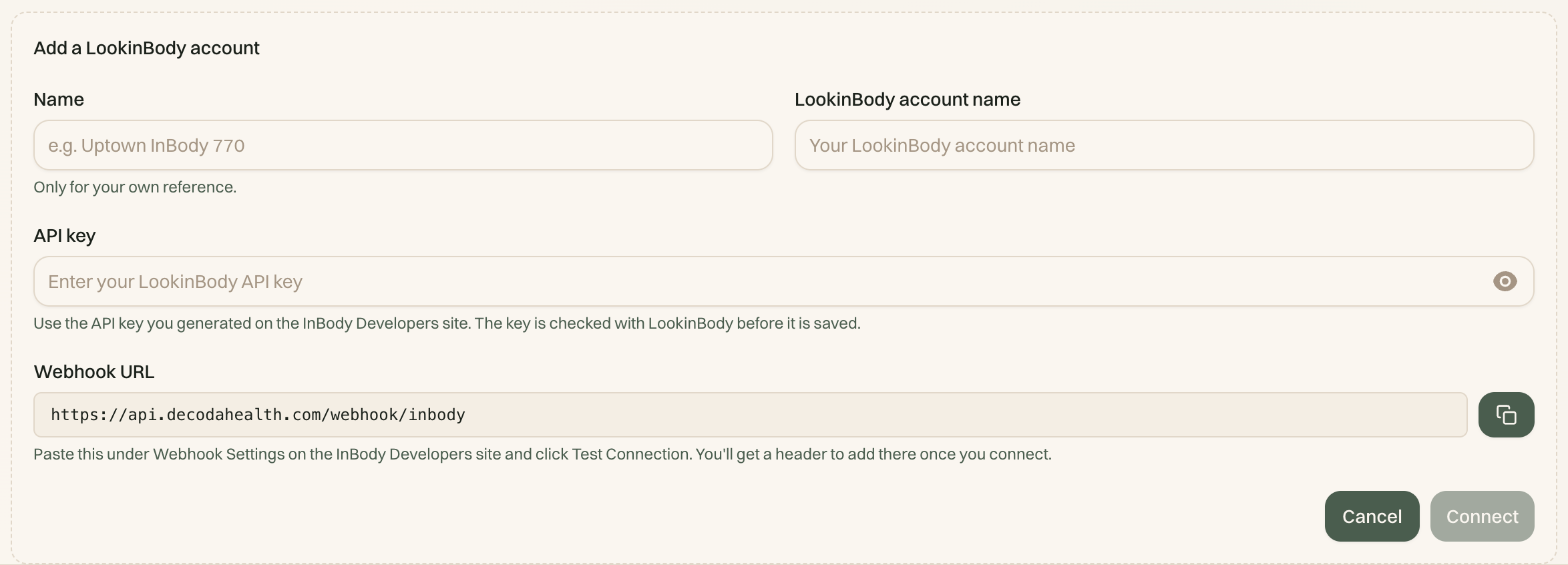 Adding a LookinBody account in Settings > Clinical > InBody
- In Decoda, go to Settings > Clinical > InBody. On the Connection tab, click Add account, then copy the Webhook URL shown under the form.
Select OAuth 2.1 (JWT)
On our Developer Portal, in the section under Generate API Key, choose OAuth 2.1 (JWT) instead of IP Whitelist. Enter api.decodahealth.com as the domain, without https://, and click Check DNS Validity. Decoda will fail to connect while the account is set to IP Whitelist.
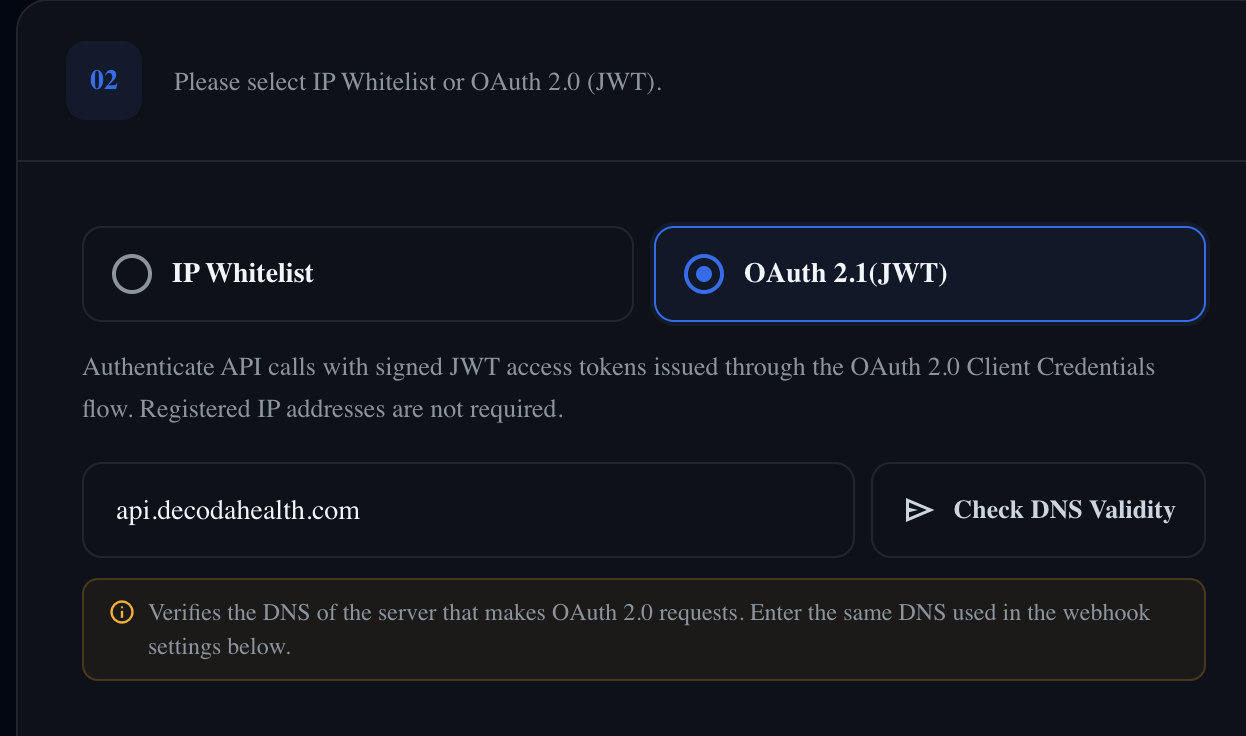 OAuth 2.1 (JWT) with api.decodahealth.com entered
Enter the webhook details and test it
Under Webhook Settings, enter any Webhook Name, such as Decoda, paste the Webhook URL from Decoda, and click Test Connection. Leave Custom Headers empty for now. Decoda gives you the header once you connect.
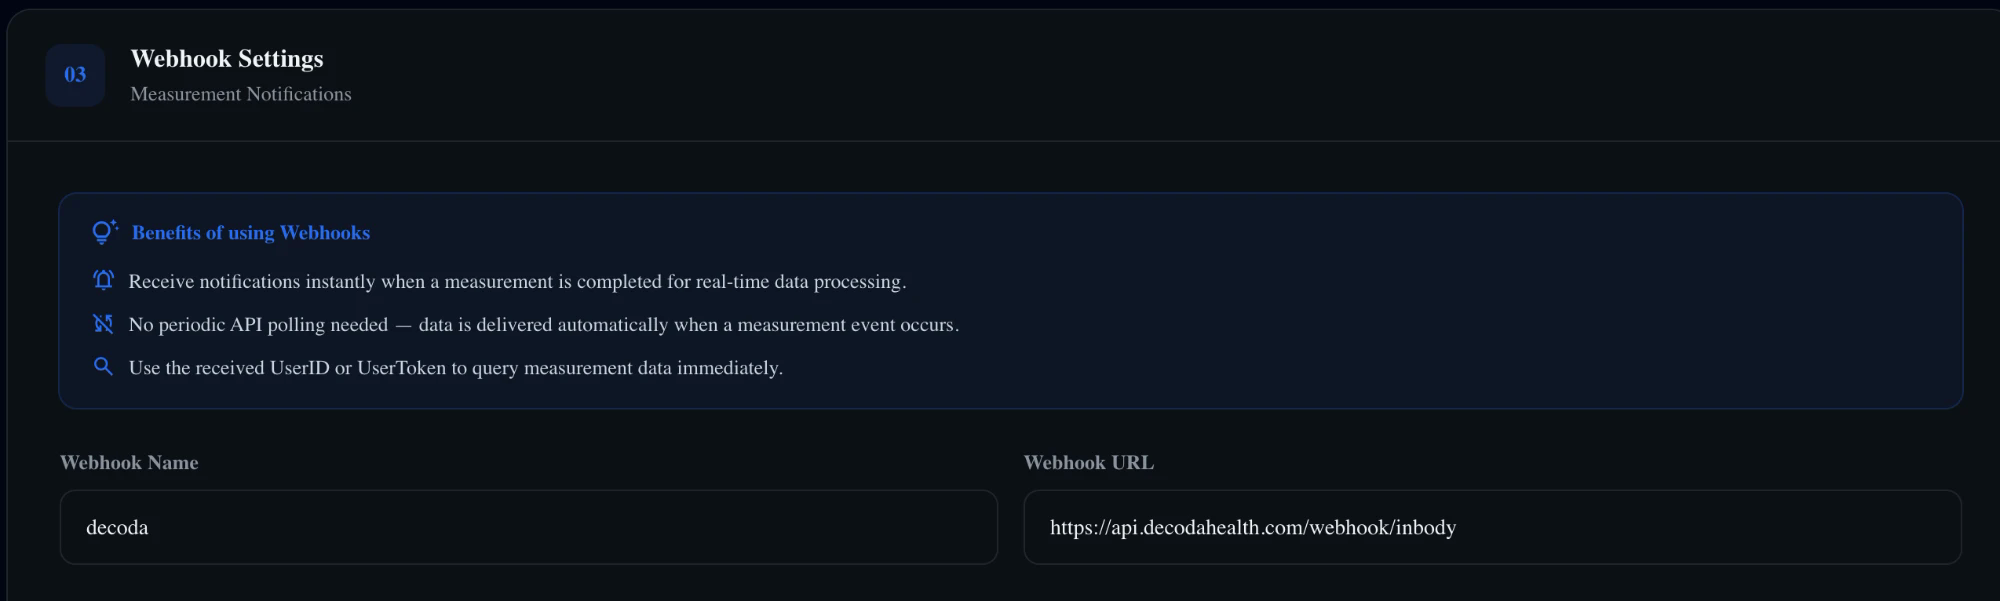 Webhook Settings on the InBody Developers site
Check that all three are green, then save
At the bottom of the page, Generate API Key, OAuth 2.1 (JWT), and Webhook Test Success should all show a green check. If one isn't green, go back to that step and fix it. InBody won't save OAuth 2.1 (JWT) until the webhook test passes. Once all three are green, save your settings.
 All three setup checks green
Apply to go live (ℹ️ InBody asks for a Go Live application before switching to live mode. We plan to remove this step in the future, but for the time being, please bear with us.)
Click Switch to Live Mode. When asked whether to complete the Go Live application, click Write application. If Complete Your Setup appears instead, go back and finish the steps above.
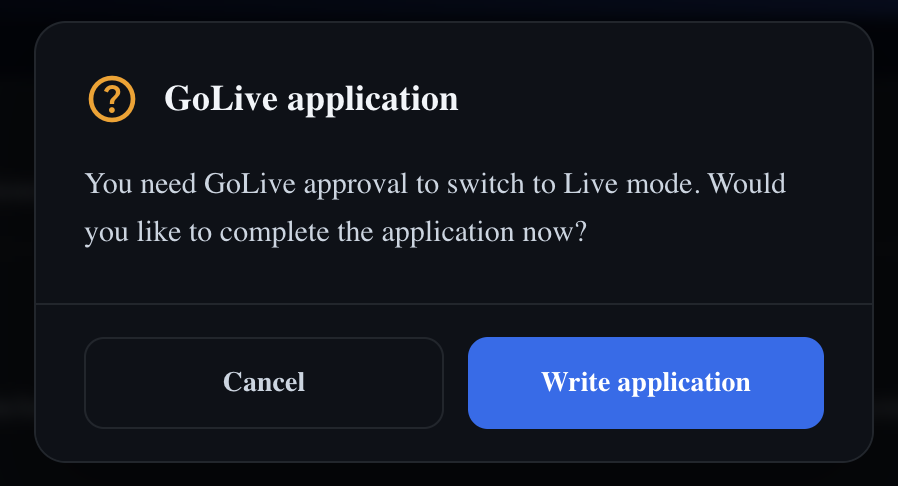 InBody asks for a GoLive application before switching to live mode
Fill in the form:
Actual service screen screenshot: download this screenshot of InBody results in Decoda, click Select file, and upload it.
Product and service description: copy and paste this text:Decoda is an EHR for medical spas and weight-loss clinics. A clinic connects its LookinBody Web account in Decoda. When a scan finishes, LookinBody sends a webhook to Decoda, which fetches the result through the InBody API and files it on the patient's chart as body-composition measurements, so providers can track progress without typing results in.
Authentication: OAuth 2.1 (JWT), domain api.decodahealth.com
Webhook endpoint: https://api.decodahealth.com/webhook/inbody
Click Submit Go Live application
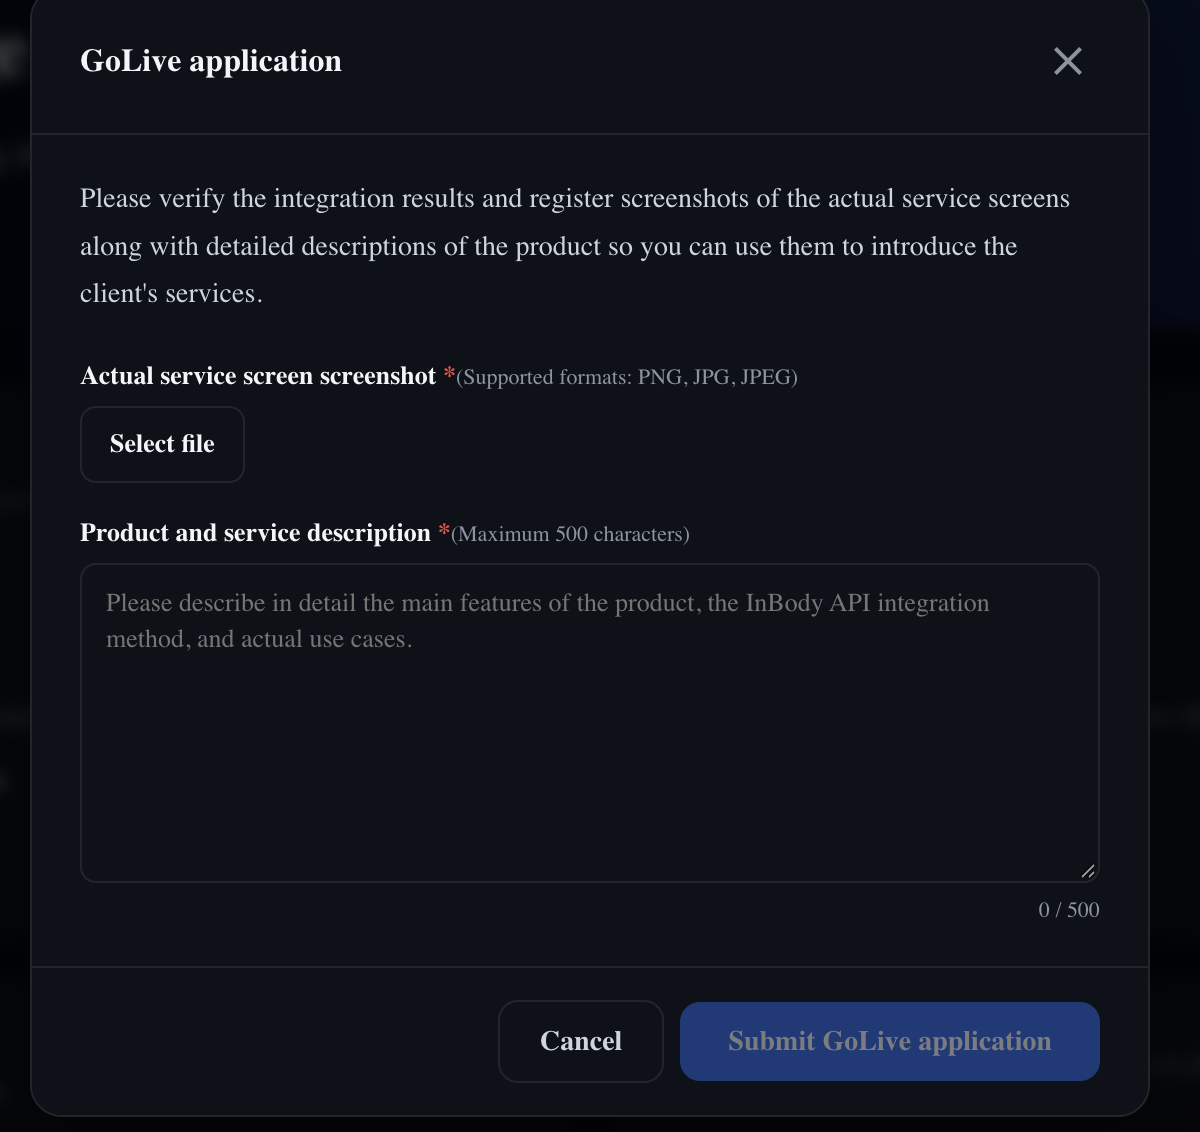 The GoLive application form
Wait for approval, then go live
InBody looks to process these within 24-48 hours to review the Go Live application. Until then, clicking Switch to Live Mode shows Go Live application pending. Once it's approved, click Switch to Live Mode again to go live.
Connect the account in Decoda
On the InBody Developers site, copy the live key under Generate API Key. Use the live key, not the one from test mode.
In Decoda, go to Settings > Clinical > InBody. On the Connection tab, click Add account if the form isn't still open from earlier. Optionally give the account a Name, such as the room its device is in, then enter your LookinBody account name, paste the live API key, and click Connect. Decoda checks the key with LookinBody before saving it. If the key is turned down, make sure you saved your settings on the InBody Developers site with all three checks green.
The account then appears in the list with its details open. Under Finish setup in InBody, Decoda shows the Header name and Header value you'll add on the InBody Developers site next.
Add the header in InBody
Come back to Webhook Settings on the InBody Developer Portal. Under Custom Headers, click Add Header. In the first box, paste the Header name from Decoda. In the second box, paste the Header value. Click Test Connection again, then save your settings.
The header value is the secret that tells Decoda a scan really came from your account, so don't skip it.
Take a test scan
Scan a patient whose phone number on the device matches their record in Decoda. Under the account's name on the Connection tab, nothing received yet changes to last delivery and a time once Decoda hears from InBody, and the results appear in the patient's measurements. The Test Connection button doesn't send a real scan, so use an actual scan to check the connection.
Other Decoda Details
Please reference the Decoda Portal for more information: https://docs.decodahealth.com/modules/settings/inbody